Easy Dutch Oven Bread: Comfort in Every Slice
There’s something undeniably magical about the aroma of freshly baked bread wafting through your home, isn’t there? The way it fills every nook and cranny, calling you to the kitchen like a warm hug. I remember the first time I attempted to make bread in a Dutch oven. It felt like diving into a comforting culinary adventure. With every crackle of the crust and each tender, fluffy bite, all worries seemed to fade away.
As the seasons shift and the air gets a little crisper, a loaf of warm, homemade bread becomes even more comforting. This Easy Dutch Oven Bread is not just a recipe; it’s an experience filled with nostalgia and warmth—perfect for those cozy weekend afternoons or weeknight indulgences. This is a bread recipe you’ll want to keep close, especially as the holidays approach. So gather your ingredients and prepare to create something truly special.
This is one you’ll definitely want to pin for later!
Why You’ll Love This Recipe
- Easy to Make: No fancy techniques required! This is a simple, no-knead recipe perfect for novice bakers and experienced home cooks alike looking for easy weeknight dinner inspiration.
- A Cozy Kitchen Experience: The long fermentation process creates a wonderfully tangy flavor that fills your home with an inviting aroma.
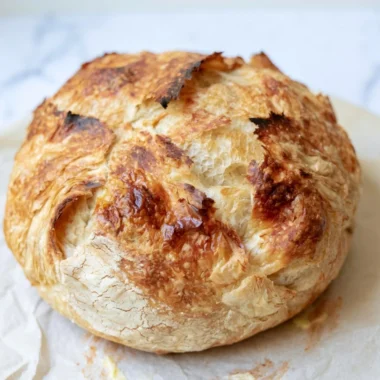
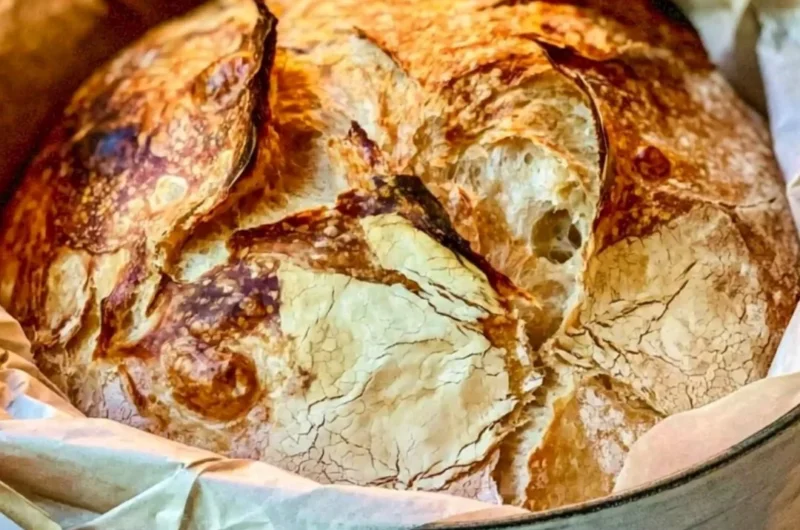
- Golden Crust: Baking in a Dutch oven ensures a perfect crust that is delightfully crunchy yet tender inside.
- Versatile: Customize it with your favorite mix-ins for a unique twist, whether sweet or savory!
- Perfect for Sharing: Slice it up and serve it as a side with soups or salads, or enjoy it fresh and warm, straight from the oven.
- Simple Ingredients: All you need are a few staples from your pantry, making this bread a delightful, low-effort treat.
Gather These Simple Ingredients
- 3 cups all-purpose flour
- 1 1/4 teaspoons salt
- 1/2 teaspoon instant yeast
- 1 1/2 cups water
Let’s Make It Together
-
In a large bowl, mix together the flour, salt, and yeast until well combined. The salt adds flavor, while the yeast brings it to life!
-
Add the water to the dry mixture and stir until a shaggy dough forms. Don’t worry about it being perfect—this dough will come together beautifully as it rests.
-
Cover the bowl with a kitchen towel and let it rest at room temperature for 12-18 hours. This extended resting time is what gives the bread its amazing flavor and texture.
-
When you’re ready to bake, preheat your oven to 450°F (230°C) and place your Dutch oven inside to heat up. Preheating is key to getting that incredible crust!
-
Once your oven is hot, carefully remove the Dutch oven. If you’ve used parchment paper, place your dough inside it (this makes for easy lifting later).
-
Cover the pot and bake for 30 minutes. Enjoy the heavenly aroma as it begins to bake!
-
Uncover the pot and bake for an additional 15-20 minutes or until the bread turns a gorgeous golden brown. This is your cue to feel incredibly proud — you’re making magic in the kitchen!
-
Remove from the oven and let it cool before slicing. Patience is key, but once you slice it, the warm, steamy goodness will be worth the wait.
Fun Ways to Customize It
-
Herb & Garlic Infusion: Add fresh chopped herbs such as rosemary or thyme, and a hint of minced garlic for a savory twist—perfect for pairing with hearty soups!
-
Cheesy Delight: Mix in shredded cheese, such as cheddar or mozzarella, into the dough for a gooey, rich center. Imagine tearing into a slice straight from the oven with strings of melted cheese!
-
Zesty Citrus: For a refreshing change, incorporate citrus zest such as lemon or orange, which adds a delightful brightness to your bread. The vibrant scent alone is uplifting!
-
Dried Fruit & Nuts: Consider adding dried fruits like cranberries or apricots and a handful of chopped nuts for a sweet and crunchy experience that’s excellent with breakfast or brunch.
Chef Emma’s Helpful Tips
-
Make-Ahead Option: You can prepare the dough ahead of time and let it sit in the refrigerator for up to 3 days. The flavors will develop beautifully with more time.
-
Slicing the Bread: Use a serrated knife to slice your bread, which ensures clean cuts without squishing the tender inside.
-
Storage Advice: Store leftover bread in a paper bag at room temperature for up to three days. For longer storage, consider freezing it. Just remember to wrap it tightly to avoid freezer burn!
-
Gluten-Free Version: If you need a gluten-free option, you can substitute the all-purpose flour with a gluten-free baking blend. Be sure to check that the yeast is also gluten-free!
What’s Inside – Nutrition Breakdown
- Serving Size: 1 slice
- Calories: 120
- Carbohydrates: 24g
- Sugars: 0g
- Fat: 0.5g
- Protein: 3g
- Sodium: 275mg
Frequently Asked Questions
Can I make this ahead?
Absolutely! You can prepare the dough a day in advance and let it rest in the fridge for up to 3 days.
Can I use different ingredients?
Yes! Feel free to swap all-purpose flour for a gluten-free blend or incorporate herbs and spices according to your personal taste preferences.
How do I store leftovers?
Keep any leftover bread in a paper bag at room temperature for a few days or slice it and freeze for longer storage.
How long does it last?
This bread is best eaten fresh, but it can be kept for up to 3 days at room temperature or longer in the freezer.
A Cozy Closing Note
This Easy Dutch Oven Bread is not just a recipe; it’s a canvas for creativity and a bridge to cherished moments with loved ones. Whether you enjoy it by itself, slathered with butter, or paired with your favorite soup, each bite is a reminder of the simple joys of home cooking.
Save this Easy Dutch Oven Bread to your Pinterest board so it’s ready when you need a cozy treat!